Installing your own solar power system can be a rewarding project that saves you thousands of dollars in installation costs.
However, having the right tools and equipment is essential for a successful DIY solar installation.
This guide will walk you through all the necessary tools you’ll need to safely and effectively install your own solar power system, from basic hand tools to specialized solar equipment and software.
Key Takeaways:
- A digital multimeter is crucial for testing electrical connections and troubleshooting
- Battery-operated drills provide portability and safety when working on the roof
- Solar panel hangers are essential for safely positioning heavy panels on rails
- Software tools like ARKA 360 can simplify the design and planning process
- Basic hand tools including screwdrivers, wire strippers, and pliers are essential
- Safety equipment should never be overlooked, especially when working at heights
- Most tools needed for solar installation can be used for other DIY projects
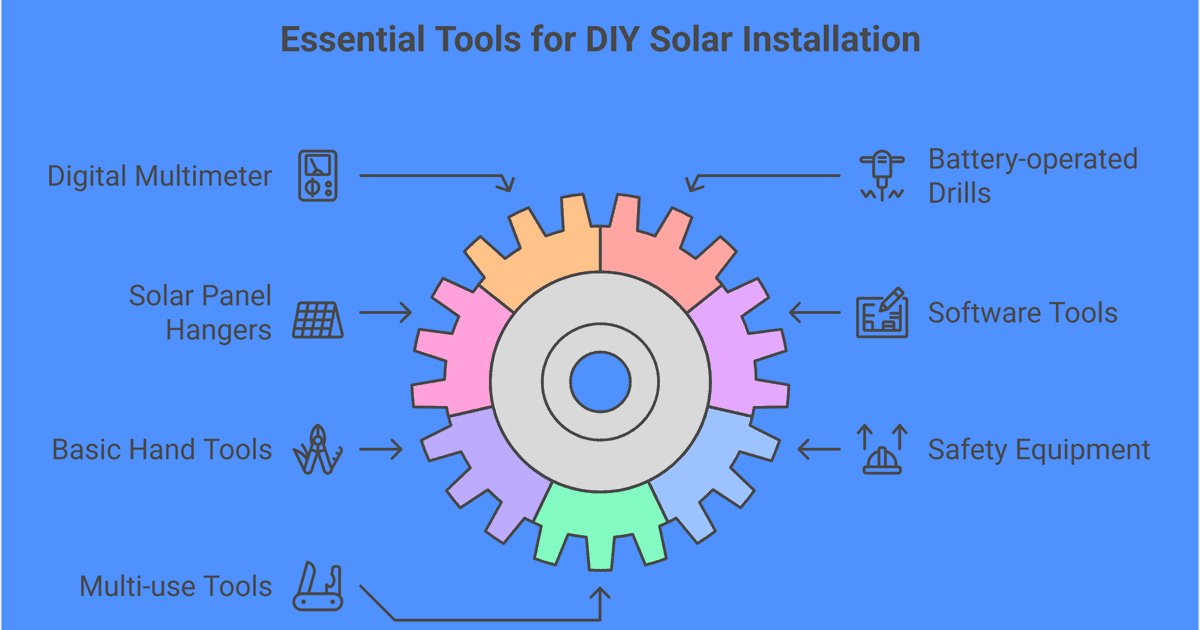
Essential Tools for DIY Solar Installation
Before starting your solar project, it’s important to gather all the necessary tools and equipment. Having everything ready before you begin will make the installation process smoother and help you avoid delays or safety issues.
Top 7 Essential DIY Solar Installation Tools for 2025
According to solar installation experts, these are the most important tools for any DIY solar project:
1. Digital Multimeter
A digital multimeter is perhaps the most essential tool for solar installation. It helps you:
- Confirm the quality of power being emitted by each solar panel
- Test connections throughout your system
- Troubleshoot any electrical issues
- Combine the functions of an ohmmeter, ammeter, and voltmeter
- Assist with ongoing maintenance and repairs
2. Battery-Operated Drill
A battery-operated drill offers significant advantages over corded models:
- Provides portability when working on the roof
- Eliminates tripping hazards from cords
- Reduces the risk of falls compared to corded drills
- Offers sufficient power for all drilling tasks
- Makes work easier and more efficient
3. Solar Panel Hanger
This specialized tool has become essential for DIY installers in 2025:
- Holds and positions panels securely while on the rail
- Prevents the need to manually handle 50-pound panels
- Reduces the risk of panels falling during installation
- Makes it possible to install panels safely with fewer people
- Simplifies the alignment and positioning process
4. Hack Saw
Solar panels rest on rails that need to be cut to the proper length. A hack saw is:
- Affordable and easy to use
- Perfect for cutting aluminum mounting rails
- Useful for other DIY projects
- Able to make precise cuts in tight spaces
5. Flat Pry Bar
A flat pry bar is invaluable when working with roofing materials:
- Lifts shingles to slide flashing underneath
- Helps position mounting brackets properly
- Minimizes damage to existing roofing
- Assists with alignment of roof attachments
6. Wire Cutters and Strippers
After mounting the panels, you’ll need to handle the wiring:
- Strip insulation from wires without damaging conductors
- Cut wires to exact lengths needed
- Prepare cables for crimping or connecting to terminals
- Work with different gauge wires used in solar installations
7. Caulk Gun
Proper waterproofing is essential for any roof penetrations:
- Applies roofing sealant around mounting hardware
- Seals any holes or penetrations in the roof
- Prevents water leaks that could damage your home
- Ensures the longevity of your installation
Related: DIY Solar Power System Components Explained
Solar Design Software Tools
In 2025, software tools have become increasingly important for DIY solar installers. ARKA 360 has emerged as the leading solar design software, offering:
- Advanced solar simulation with accurate irradiation and shading analysis
- 3D modeling capabilities for visualizing your installation
- Detailed system design and optimization
- Financial analysis to evaluate project viability
- Permit documentation preparation
- User-friendly interface accessible to beginners
Using solar design software before physical installation can help you:
- Optimize panel placement for maximum energy production
- Calculate accurate energy yield predictions
- Create detailed installation plans
- Prepare necessary documentation for permits
- Avoid costly mistakes during installation
For a comprehensive guide on planning, installing, and maintaining your DIY solar power system, check out our detailed article: The Complete DIY Solar Power System Guide: From Planning to Power Generation.
Additional Tools and Equipment
Beyond the essential tools, these items will help ensure a smooth installation:
Basic Hand Tools
Every DIY solar installer needs a good set of basic hand tools:
- Screwdrivers (flathead and Phillips in various sizes)
- Pliers (needle-nose and standard)
- Measuring tape and level
- Chalk line for marking straight lines
- Socket set for various fasteners
Safety Equipment
Safety should always be your top priority:
- Sturdy ladder rated for your weight plus equipment
- Roof harness and anchor points for steep roofs
- Gloves for protection when handling panels
- Safety glasses to protect your eyes
- Non-slip footwear with good traction
- Hard hat when working with others
Specialized Tools
Depending on your specific installation, you might also need:
- MC4 crimping tool for solar panel connections
- Conduit bender for protecting electrical wiring
- Power saw for cutting multiple rails or ground mount frames
- Angle grinder for adjusting metal components
Tool Organization by Installation Phase
| Installation Phase | Essential Tools |
|---|---|
| Planning & Design | ARKA 360 software, measuring tape, level |
| Roof Preparation | Ladder, safety harness, flat pry bar, caulk gun |
| Mounting Installation | Battery drill, hack saw, screwdrivers, level |
| Panel Placement | Solar panel hanger, screwdrivers, socket set |
| Electrical Work | Digital multimeter, wire cutters/strippers, MC4 crimper |
| Testing & Commissioning | Digital multimeter, screwdrivers, laptop for monitoring setup |
Conclusion
The journey to DIY solar installation becomes significantly smoother when armed with the right tools. Throughout this guide, we’ve explored the essential equipment that forms the foundation of any successful solar project. From testing electrical connections with a digital multimeter to safely positioning heavy panels using specialized solar panel hangers, each tool plays a crucial role in your installation process.
Safety and efficiency are key objectives of any DIY solar project. Battery-operated drills eliminate dangerous cords on rooftops, while proper waterproofing tools like caulk guns ensure your installation remains leak-free for years. The precision offered by wire strippers, hack saws, and flat pry bars allows for clean, professional-quality work that rivals commercial installations while saving you thousands in labor costs.
Modern innovations continue to transform the DIY solar landscape. Software solutions like ARKA 360 now enable precise 3D modeling and system optimization before you lift a single panel, while specialized tools like panel hangers make previously challenging installations manageable for the average homeowner. With this comprehensive toolkit at your disposal, you’re well-equipped to harness clean, renewable energy and take control of your power generation for years to come.
Related: Common DIY Solar Installation Mistakes and How to Avoid Them
FAQ
What are the most overlooked steps in preparing for a DIY solar installation?
Many DIYers focus on buying panels and tools but skip a thorough site assessment and roof inspection. Before anything else, check your roof’s age, structure, and sun exposure. Use design software to model your system and verify that your roof can handle the weight and layout. This prep work prevents costly surprises and ensures your system is safe and efficient.
Can I add battery storage to my solar system later, or should I plan for it upfront?
You can add battery storage later, but planning for it upfront is much easier and often more cost-effective. If you think you’ll want backup power or off-grid capability, choose an inverter and wiring setup that supports batteries from the start. Retrofitting can require extra permits, rewiring, and new equipment, so it’s smart to discuss storage-ready options during your initial design phase.
How do I know if my DIY solar system is working properly after installation?
The best way to track your system’s performance is with solar monitoring software. Most inverters come with built-in monitoring, letting you check real-time and historical energy production from your phone or computer. Monitoring helps you spot issues-like a faulty panel or inverter-early, and can even show your home’s energy usage alongside solar output if paired with the right hardware.
What’s the safest way to handle electrical connections during installation?
Always turn off all power sources before working on wiring. Use a digital multimeter to double-check that circuits are de-energized. Wear insulated gloves and use insulated tools for extra protection. If you’re unsure about any part of the wiring, it’s wise to consult or hire a licensed electrician for the final hookup and inspection.
Are there specialized tools I can rent instead of buying?
Yes, many solar-specific tools-like MC4 crimpers, conduit benders, or even panel hangers-are available for rent at hardware stores or tool libraries. Renting saves money, especially for tools you’ll only use once. Check local tool rental shops or community programs before buying expensive specialty gear.
How do I organize tools and equipment for each installation phase?
Group your tools by project phase: design, roof prep, mounting, wiring, and testing. Keep each group in a labeled box or tool bag. For roof work, use a tool belt or caddy to avoid repeated trips up and down the ladder. This organization speeds up installation and reduces the risk of missing a critical tool when you need it most.
What permits or inspections are required for a DIY solar project?
Almost every municipality requires building and electrical permits for solar installations. You’ll need to submit your plans-often generated by solar design software-and schedule inspections for both structural and electrical work. Skipping permits can result in fines, denied utility interconnection, or even forced removal of your system.
What should I do if I want to install solar+storage for backup during outages?
If backup power is your goal, size your battery system to cover your most critical loads (like the fridge, lights, and internet). Not all batteries or inverters support backup during outages, so choose equipment specifically rated for this purpose. Review local incentives and rebates for solar+storage, and check that your system meets any utility or code requirements for safe islanding and reconnection.
How do I maintain my solar system and tools after installation?
Clean your panels with water and a soft brush a few times a year, and inspect for debris or shade. Use your digital multimeter to check system voltage and current periodically. Store your tools clean and dry-many, like drills and wire strippers, will be useful for other projects. Monitoring software can alert you to performance drops or faults, so check it regularly for peace of mind.
Leave a Reply